ALEPIZ Interface
ALEPIZ is accessed via the Web interface. The ALEPIZ interface is designed to be used on devices with different screen resolutions and orientations. These can be smartphones, tablets, laptops and desktops. Interface adaptation occurs automatically.
Interface, for smartphone screen
Interface, for tablet screen
Interface, for laptop or personal computer screen
OBJECTS, ACTIONS, and FILTERS lists
The curtain with the OBJECTS, ACTIONS and FILTERS lists is on the left. If it is hidden, it is called by clicking on the menu icon in the upper left corner of the screen. The shutter is used to select objects, filter objects, select an action, as well as to search for objects, actions and filters.
For convenience, you can switch between display modes of the curtain with lists. To do this, use the controls that are located in the upper right corner of the curtain.
The code_off and code elements are used to switch between the mode of fixing the curtain in the open position and the mode when the curtain is automatically hidden and the action takes up the entire screen area.
The keyboard_arrow_right and keyboard_arrow_left elements are used to change the size of the shade. In the maximum mode, the curtain simultaneously displays a list of objects and a list of actions or filters, depending on the choice. In reduced mode, the shutter displays only one of the OBJECTS, ACTIONS, or FILTERS lists. You must switch between lists by clicking on the corresponding tab.
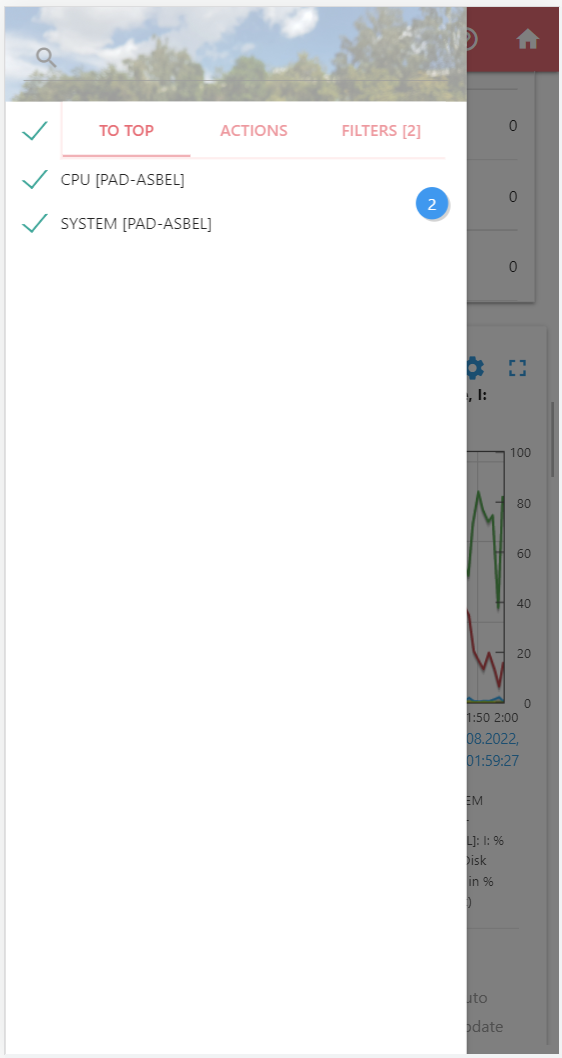
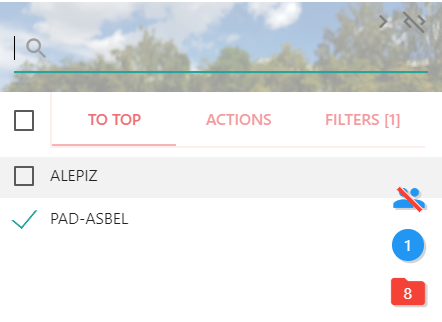
OBJECTS
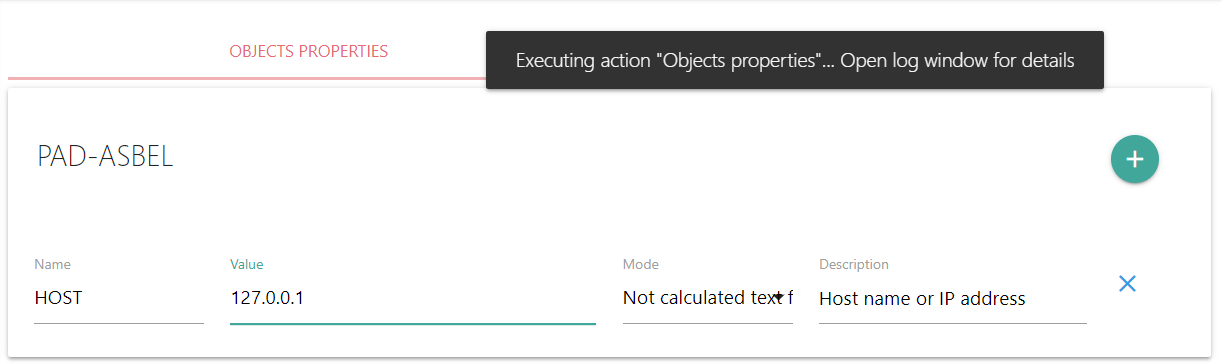
The OBJECTS tab contains objects. Objects are entities with unique names that serve to designate elements for monitoring, managing, grouping other objects, and so on. Examples of objects include a hostname, a group that includes other objects (for example, a Servers object that includes servers), a program, a service, a template with counters, and so on. You can independently create and delete objects, manage their grouping and filtering.
Object navigation
When you select the OBJECTS tab, the name of the OBJECTS tab will be changed to "TO TOP". Clicking on it takes you to the top level of objects.
If you click on the name of an object, a list of nested objects will appear. If there are no nested objects, then the object will be selected. An element of the Checkbox type, which is located to the left of each object, also serves to select an object.
To the left of the OBJECTS tab is the Checkbox element, which allows you to select all objects, or deselect them.
When objects are selected, a counter appears in the object list box, 7 which shows how many objects are selected. If you click on the object counter, ALEPIZ will save the selected objects to the clipboard and draw an icon with the number of saved objects folder. You can navigate to other objects and add them to the clipboard in the same way. After all the objects necessary for work are added, you must click on the icon with the objects and they will be displayed as a list of objects.
When selecting objects and switching to another tab, the number of selected objects is displayed next to the OBJECTS label.
Interactions between objects.
The configured interactions between objects allow you to filter objects in the OBJECTS list. Interactions can be configured using the Objects Interactions action. By selecting two or more objects and clicking on one of them, you can get a list of objects contained in them, which will be generated depending on the configured interaction between objects. This can be all objects included in the selected parent objects. Or it can only be shared objects for the selected parent objects. Or it can only be non-shared objects for the selected parent. A detailed description of interactions and their settings can be found on the help page for the Objects Interactions action.
Search for objects
Above the OBJECTS list is the object search form. If you start typing some part of the object name in the form, after typing a few characters in the OBJECTS list there will be objects whose names contain the typed text. First, filtering is performed among the displayed objects. If no object is found, a search is made among all objects present in the system. If you are working with the main interface of ALEPIZ, the cursor will always be in the search bar, allowing you to start searching at any time. When you press Tab, the cursor will move to the action search bar in the reduced wipe mode, or to the active tab with the action or filters in the maximum wipe mode. Esc resets the search string and displays a list of objects that were before the search began
You can use the characters "&" (and) and "|" (or) to combine search queries into a boolean expression. Instead of the symbol "|" line breaks or comma (',') can be used.
To search for objects, you can use patterns: "_" - any single character and "*" - a sequence of zero or several any characters.
In a global search, if you want to use the characters "_" or "*" not as patterns, but as part of object names, they must be escaped with the "\" character.
ACTIONS
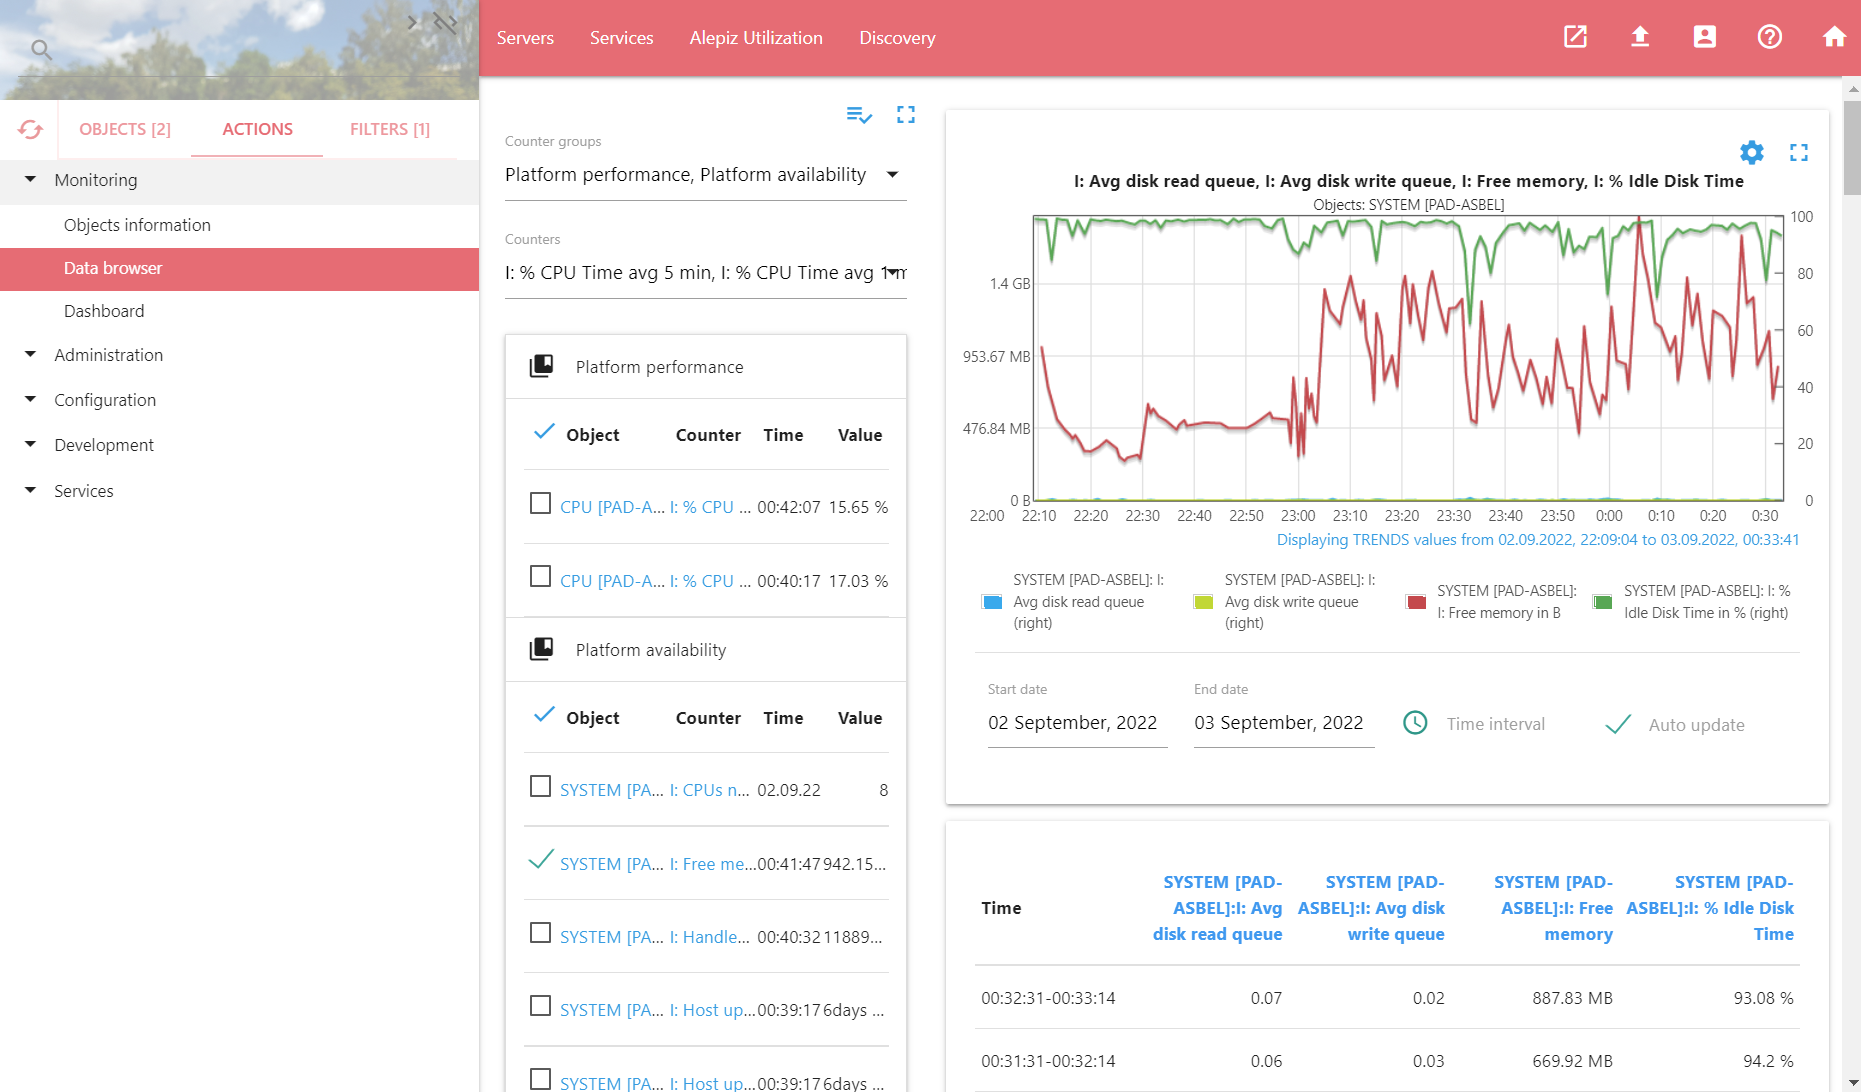
These components allow you to perform actions or provide some information. An example of actions can be creating an object in ALEPIZ, administering users, viewing log files, viewing a graph with historical information collected by the built-in monitoring system, restarting a service on a remote server, editing a configuration file, creating tasks that combine other actions for automation, and so on.
You can develop your own actions to automate processes.
Actions can be performed by starting them manually or as part of a task in automatic mode, depending on the events that have occurred. An action can also be performed as part of a task according to a specified schedule.
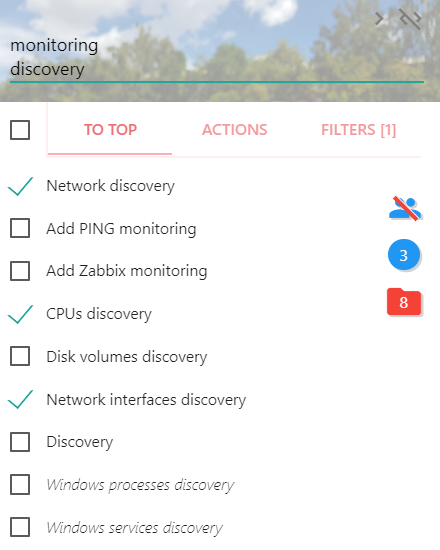
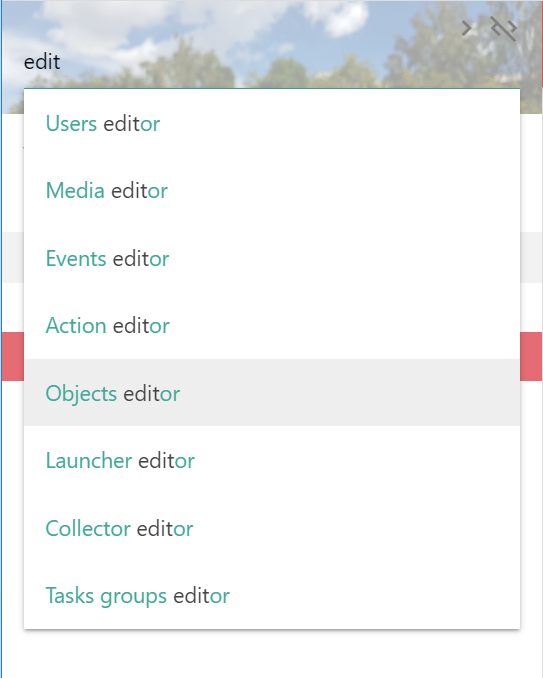
The ACTIONS tab contains actions organized into groups. When you click on the selected action, its interface will be shown in the main system window.
To the left of the ACTIONS tab is the icon cached which serves to reload the current action. When you click on the icon, the cache is released and the file with the action is reconnected to the system. This can be used if you need to start working with the updated action.
Action Search
Above the ACTIONS list is a search form for actions. If you start typing some part of the name of the action in the form, hints will appear from which you can select the desired action. If no action matches the typed text, ALEPIZ will automatically switch to searching for objects. When you press Tab, the cursor will also move to the object search bar. Esc resets the search string.
FILTERS
The FILTERS list allows you to set filters for objects. When using filters, objects that do not match the selected filters will not be displayed. The administrator can set up arbitrary filters based on object properties, top-level object properties, and received historical data. Filters are only applied to objects that have properties or counters that match the filters to retrieve historical data. Objects that do not have corresponding properties or counters will be displayed regardless of the filters set. If filters are selected, their number appears next to FILTERS.
You can set up preset filters for users. In this case, the filters will be automatically enabled when the user refreshes the page.
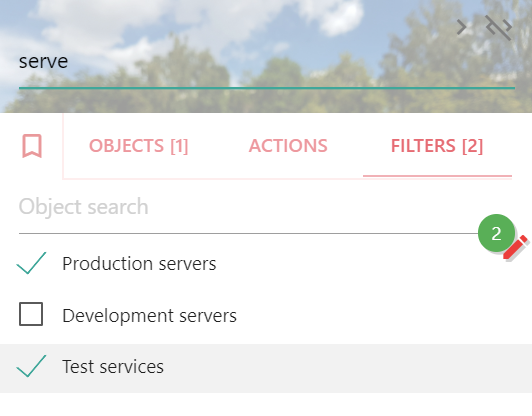
When filters are selected, a counter of the number of selected filters is displayed 11 By default, multiple filters are connected with a logical AND operator. You can change the logical operator. To do this, click on the filter counter and in the filter editor that appears, click on the operator you want to change. Operators "AND" and "OR" are supported.

To the left of the FILTERS tab is the icon bookmark_border which serves to reset the selected filters and enable filters preset for the user
Above the list of filters there is a multi-line field for searching filters. When you type in the search bar, the objects displayed in the list are filtered.

Search filters
Above the FILTERS tab there is a filter search form. If you start typing some part of the filter name in the form, after entering a few characters, filters will appear in the FILTERS list, the names of which contain the typed text. Pressing Tab will move the cursor to the object search bar. Esc resets the search string.
Quick links
Links can be customized for your convenience. They will appear in the navigation bar at the top of the screen. Links are used to quickly navigate through objects or to navigate to a specific web page. For object navigation, you can configure the display of objects associated with top-level objects. Or displaying objects that match the search string. Or display of strictly defined objects.
Navigation bar icons
The icons are in the upper right corner of the screen.

open_in_new duplicates the URL of the current tab into a new tab in the browser to duplicate the current ALEPIZ window.
file_upload opens a window with information about the process of performing actions.
account_box opens a dialog with which you can log in or change the password in the system
help_outline opens a contextual help page depending on the selected action
home opens the home page of the ALEPIZ Web site
Window with information about the process of performing actions
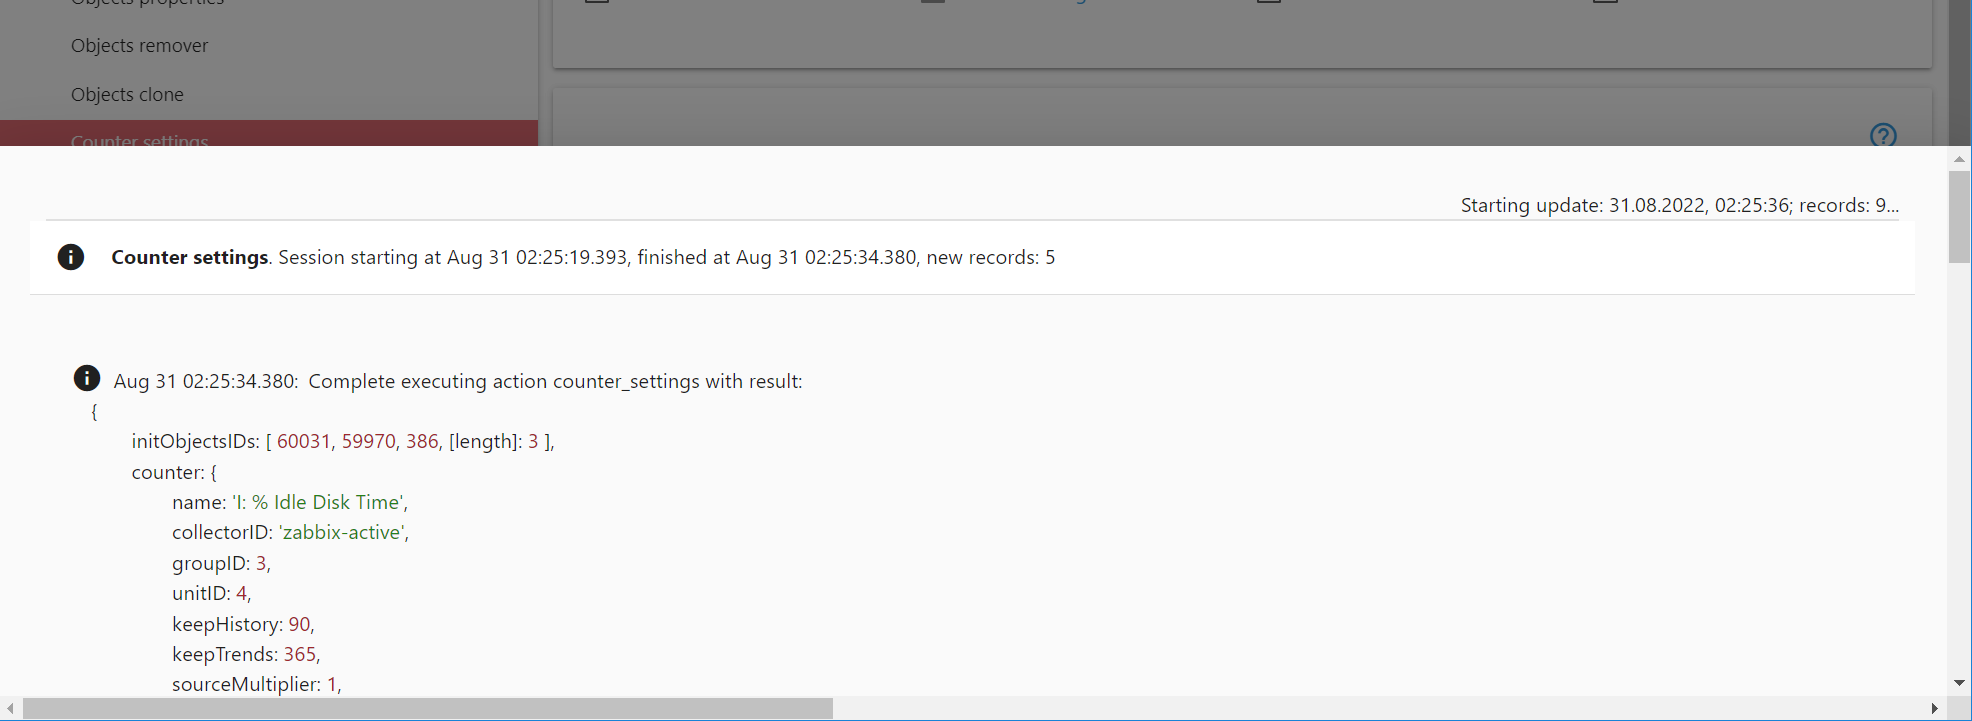
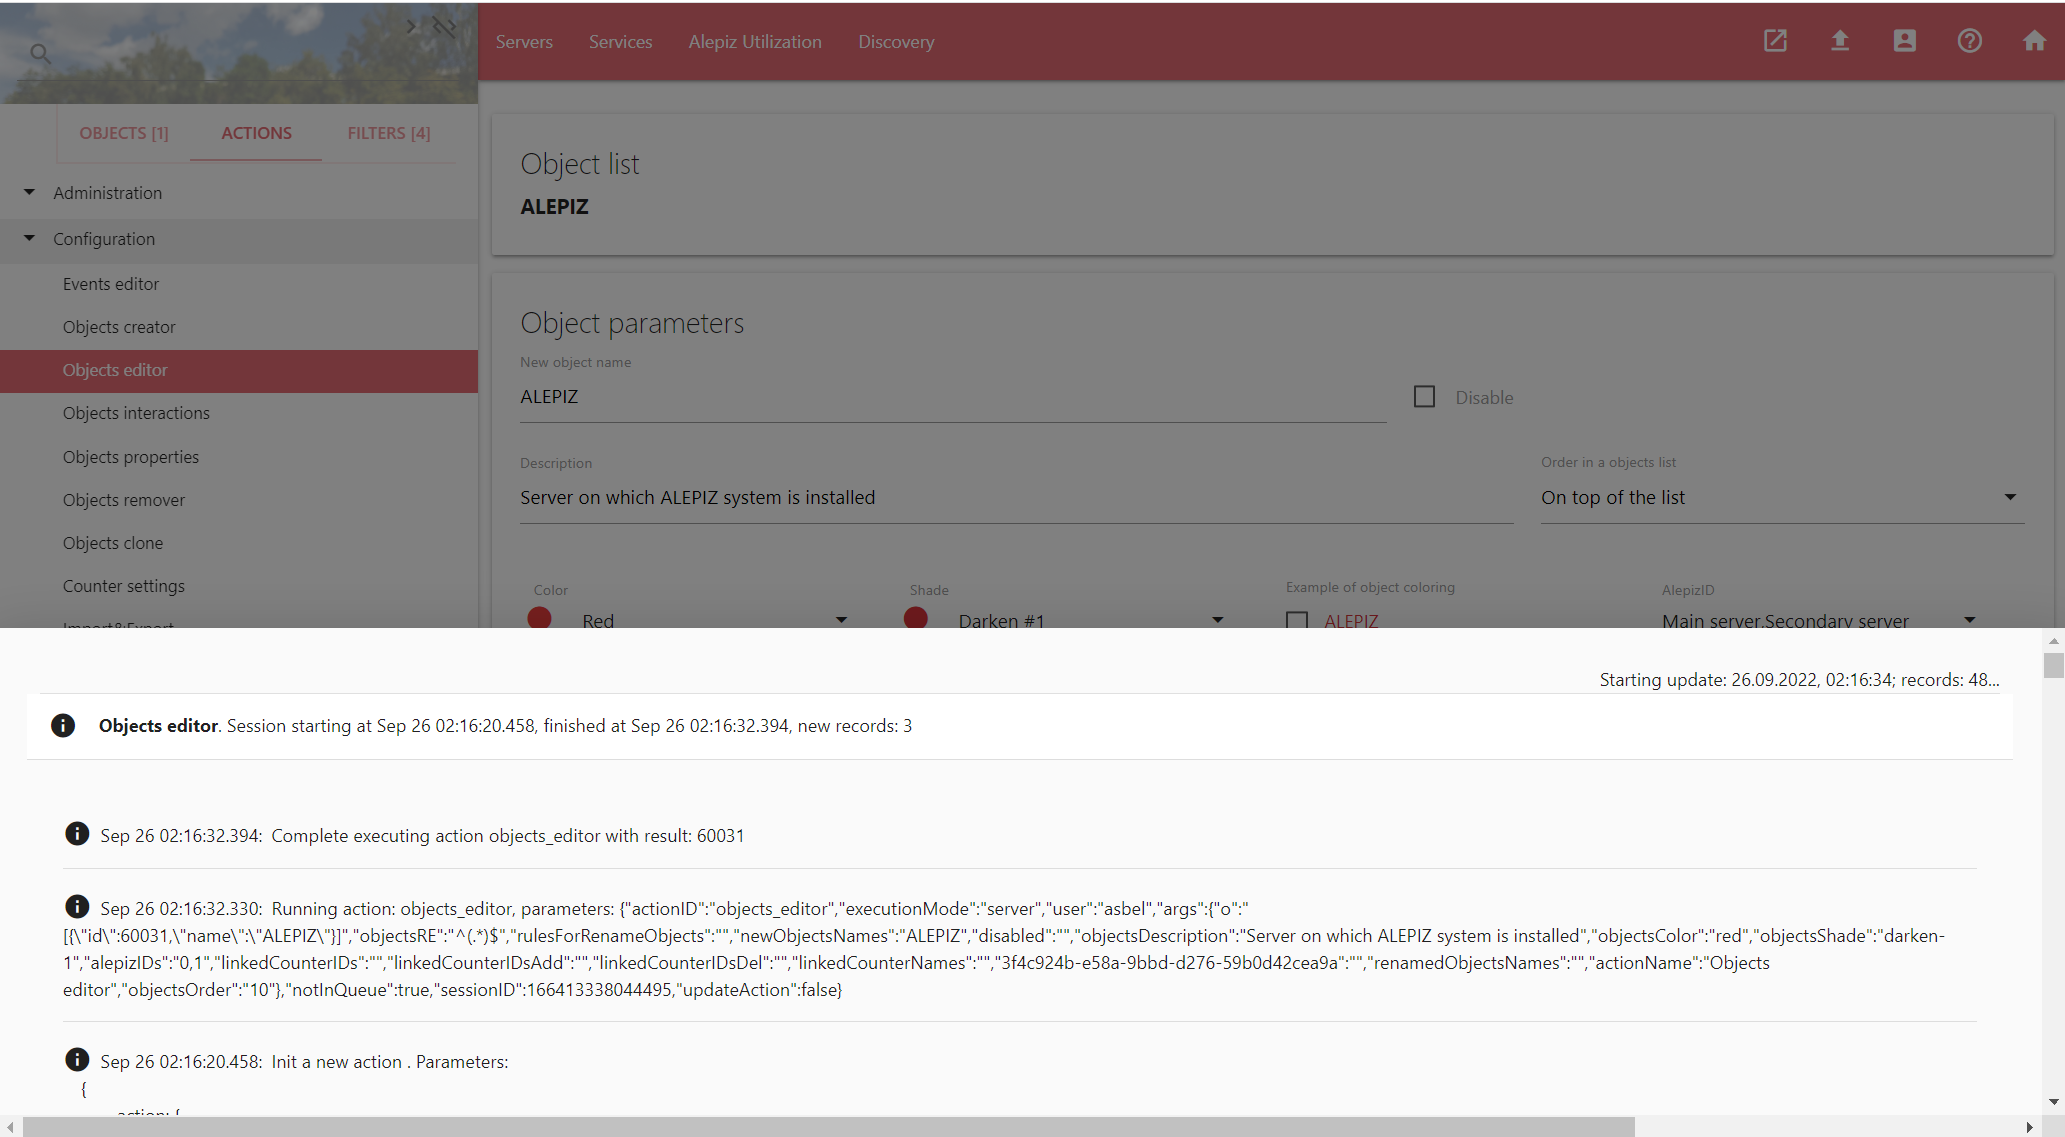
The window is called when the action starts or when the file_upload icon is clicked, which is located in the upper right corner of the screen. The data is presented as a sequence of records and represents information about displaying or performing an action.
The information is divided into sections, each of which is responsible for performing a specific action. Depending on the debug level configured, the amount of information displayed may vary. Clicking on a section heading will show or hide the contents of the section. The information is updated automatically while the information window is open.
Control buttons
The action control buttons are located on the bottom right and are displayed depending on the user rights. Their presence is regulated by the rights to perform an action and the ability to create a task from an action. If there is no right, the buttons will not be displayed.
play_arrow Launch selected action (Ctrl+Enter)
After all the parameters have been set in the selected action, it is necessary to launch the action for execution. Changes will only take place after the action's execute button is clicked, until then, no changes to the action's parameters will result in real changes that the action performs. During the execution of the action, a window with information about the details of the execution of the action will open. From this information, you can determine that the action was performed correctly and that no errors occurred during the execution of the action.
To quickly perform an action, you can press <Ctrl>+<Enter>. In this case, the action will be triggered and a corresponding notification will appear. The window with detailed information about the execution of the action will not open. You can always see the information about the execution of the action by clicking on the file_upload icon in the upper right corner of the screen.
playlist_add Create a task from an action
The button is displayed depending on the user's rights, either as the main button if there are no rights to perform an action, or as an auxiliary button that appears when you hover over the button to perform an action. When the button is clicked, a task is created from the current action, or, if the task has already been created, the current action is added to the created task.
Tasks are used to create automation. A task is a set of actions with certain parameters that will be performed in a given sequence. To create a task, you need to set the necessary parameters for an action and add it to the task. Then repeat the operation to add other actions with the set parameters to the task. The result is a task consisting of several actions. A task can be edited using the Task maker action and executed in any of the available ways:
- Run a task manually
- Set the execution time at which the task will automatically start
- Assign a condition under which the task will be launched
- Using the Counter settings action, using the Task runner collector, create a counter that starts the task. A counter can depend on another counter and, if specified conditions are met, launch a dependent counter with a task to execute. In this case, dynamically generated parameters can be passed to the task.
As an example, a task might be updating some application service, consisting of the actions "Update service files", "Apply SQL script to the service database" and "Edit service configuration file". After creating such a task, you can assign a condition for its execution: stop the service. As soon as the service is stopped, the task to update the service will be performed automatically.
Another example would be to create objects in the system to monitor automatically found hosts on the network. To do this, use the Counter settings action to create a counter that, using the Objects discovery collector, will search for objects on the network. Next, create another dependent counter, which, using the Task runner collector, will launch a previously created task to create the found objects, set the properties of the objects, and connect the necessary counters to collect data.
You can also create a task that will perform service maintenance, for example, backup, packaging and rotation of logs, database maintenance, and so on. To do this, you can create a task or several tasks that will automatically start actions on some condition, for example, "service stop".
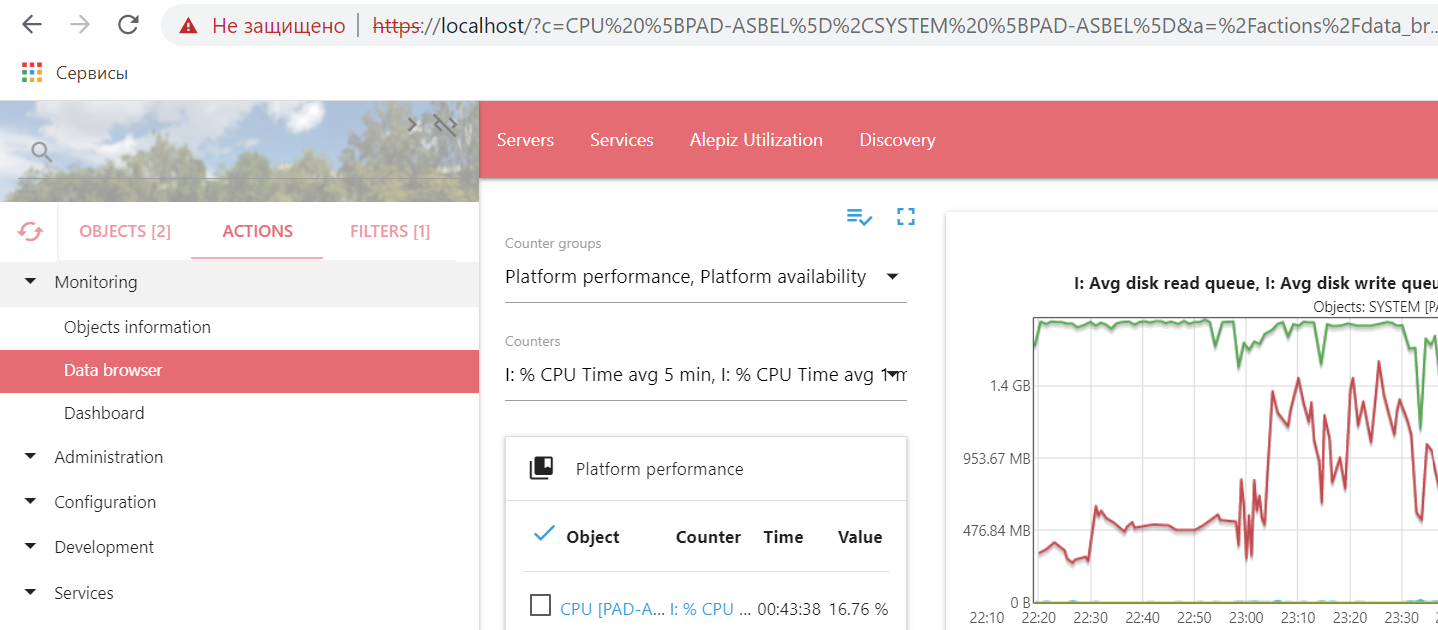
Information in the address bar of the browser
The address bar of the browser contains information about the selected objects in the OBJECTS list, the selected action in the ACTIONS list, and the parameters of the selected action. For information about the state of objects and actions, the parameters u,c (for information about objects) and a (for information about an action) are used.
u - list of selected objects
c - list of unselected objects
a - action
The example below renders the objects_creator action (a=%2Factions%2Fobjects_creator). Object17, Object18 and Object19 objects are not selected (u=Object17%2CObject18%2CObject19). Object15 and Object16 selected (c=Object15%2CObject16)
https://localhost/?a=%2Factions%2Fobjects_creator&u=Object17%2CObject18%2CObject19&c=Object15%2CObject16
In addition to information about the state of the lists, the browser line may contain information about the parameters of the current action. The example below displays information about the settings set by the administrator for plotting the Data browser activity. If you send the contents of the command line and the recipient has the appropriate rights, when they open the received link in their browser, they will see exactly the same graph.